Here is how to print images on a plain t-shirt. It is very easy to do if you know how to do it..
The ingredients needed to draw t-shirts are very easy, just:
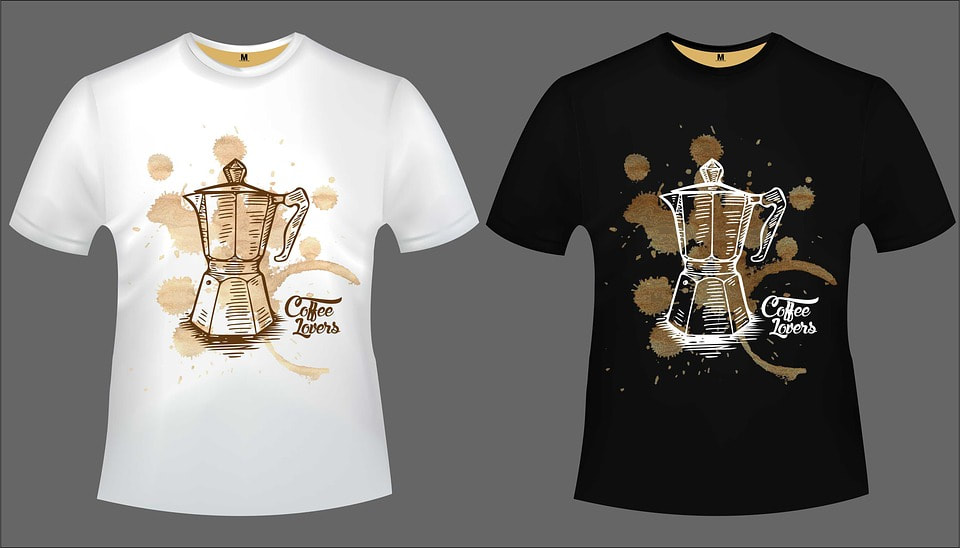
- Plain t-shirt
- Laser printer (with color)
- Paper t-shirts transfers or baking paper t-shirts
- Electric iron or if you want to try steam iron, you can check it at here
- Programs like Ms.word or other software for drawing (but here I use Ms.word)
For transfer paper material, which can transfer printer prints to the fabric with the help of a hot iron, you must buy one pack, which contains ten sheets. To make it, follow the steps as follows:
Step 1:
Open the Microsoft Word software, adjust the paper size by clicking on the [File] [Page Setup] menu so that the dialog box opens. Click on the [Paper Size] tab and set the paper size to A4. Make the format become Landscape or horizontal, then click the button
On this blank worksheet enter the picture. You can use images that are already available on Clip Art or you can use other images as you like that are already available in your folder.
For images to be easily swiped, right-click with the mouse, then [Format Picture]. After the dialogue box appears, click on the [Layout] tab, with the [In Front of Text] icon option, in the form of a black dog above a row of gray lines.
To enter text, use [Insert] [Text Box].
For easier text handling, remove the line by right-clicking, then [Format Text Box]. After the dialogue box appears click the [Layout] tab, with the [In Front of Text] option. Then enter the text, just in line, with the type and size of your favorite font. Even so is the color.
Step 2:
With the instructions in Step 1, the results we get are as follows:
(To see better results, look at [File] [Print Preview])
Step 3:
If you are sure and satisfied with the design, now is the time to print on the shirt.
Take transfer paper from the package, and install it on the printer. Remember, don't turn upside down. The back of the paper, which is not a printed area, is usually marked with lines and / or writing. The print area must face up.
After that click [File] [Print], then in the dialog box click [Properties]. At [Media Type] choose [T-Shirt Transfers]. This option will automatically produce a reverse print (mirror), such as seeing the reflection of an image on a mirror. Choose standard print quality, not draft.
If in your [Properties] settings there are no facilities as exemplified above, then on the [Features] tab click [Orientation] select Portrait, and check the Flip Horizontal. Then you will get a print like reflections on the mirror as well.
Are you sure everything is ready ???? Click [Aplly], then [Ok].
Printer menu options properties of one printer brand with another are sometimes somewhat different, but in principle printing is almost the same.
Note: when printing, use the BEST quality setting
Step 4:
This is how your results are reversed. It must be so, because the picture and text will later be transferred to your plain shirt.
Step 5:
Take a prepared shirt, set your iron to medium level. Flatten the shirt first by ironing it. After the shirt cools down, transfer the printed transfer paper.
Keep the t-shirt surface undulating. If you need a soft carton.
Then set the iron to the maximum level. Rub slowly, with a little pressure, field by plane, according to the guide line, from top to bottom and vice versa, for about 15 seconds. After that rubbed from left to right, and vice versa, about 15 seconds.
Step 6:
Place the iron, wait for about 3 minutes for the transfer paper to cool. Then let go, like removing a sticker, slowly. One hand takes off the paper, the other hand holds the shirt so it doesn't lift.
If there are parts that have not been flat, close the paper again, and rub it again with an iron.
Step 7:
The shirt has been finished drawing. Wait until the cold clothes are used. The design of the shirt that you made is complete and ready for use by you and your family. Don't forget to adjust the size of the shirt with the person who will wear it. Good luck??.!!
 RSS Feed
